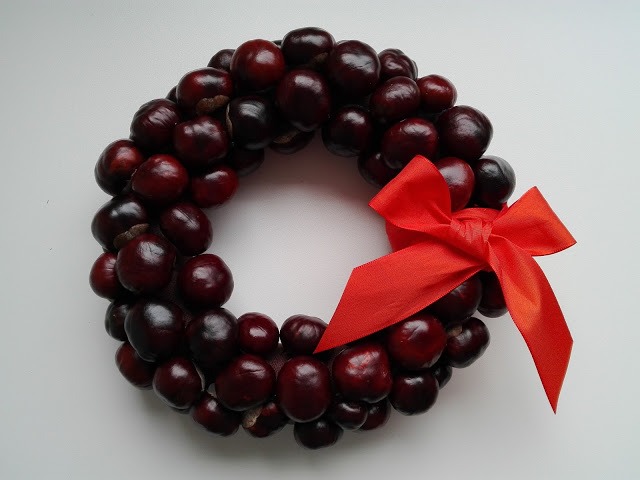
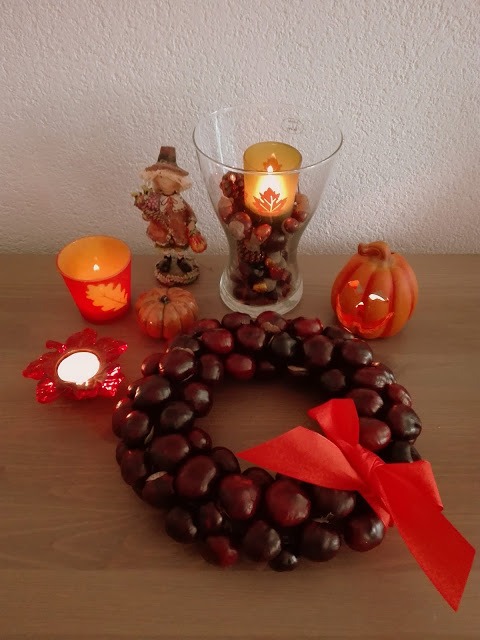
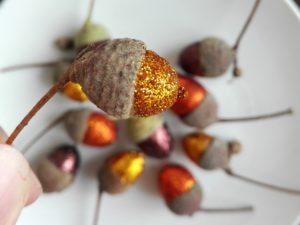
Rainy afternoon like it was today is ideal for continuing the creation of fall decorations. After the glitter acorns (see the tutorial here), I got down to the creating the wreath from chestnuts. And this super simple tutorial I bring you today.
As usual, I found my inspiration on the Internet, but I decided to do a little more detailed tutorial, although the creation of the chestnut wreath is really very simple.
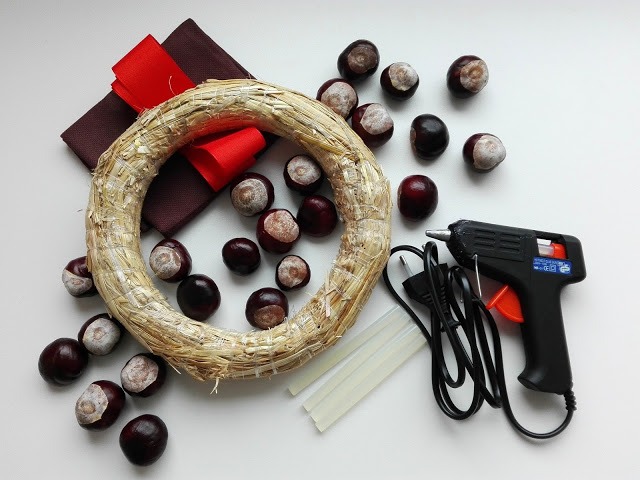
What you need:
– Small bag of chestnuts of various sizes and shapes
– Styrofoam or straw wreath on the body
– Glue gun and enough silicone sticks
– Dark cloth
– Colored ribbon
Technique:
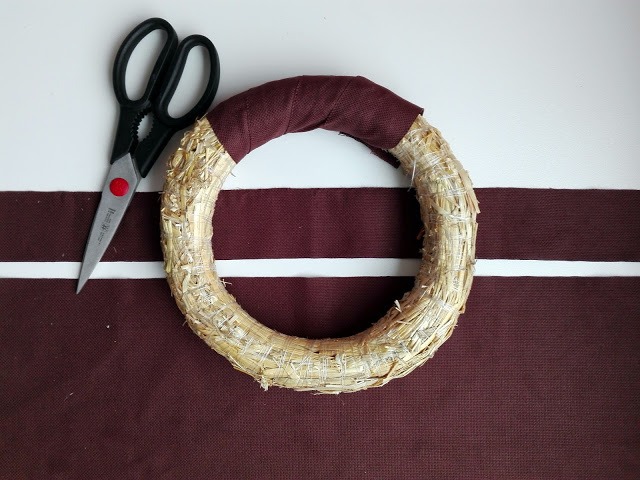
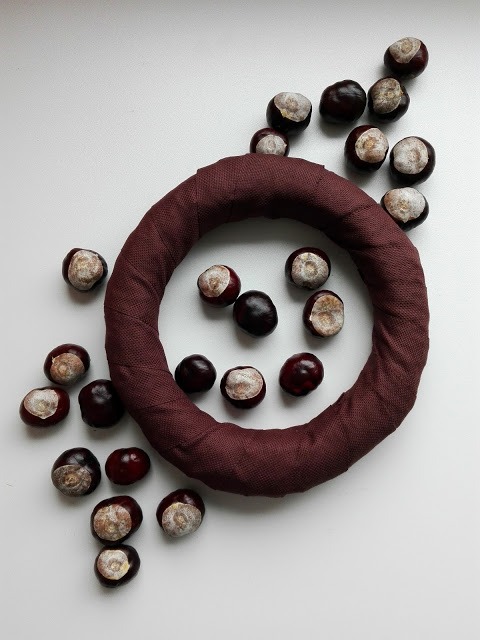
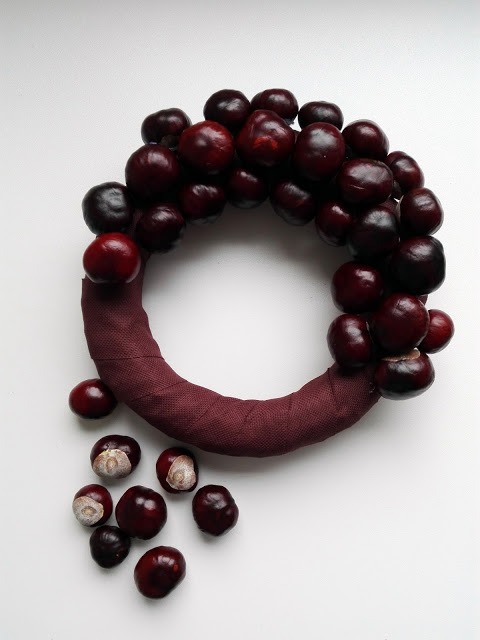
1. Cut about 5 cm wide strips of cloth (number of strips depends on the size of the ring, I needed five of them) and wrap them around a wreath body. Attach the ends with the glue gun.
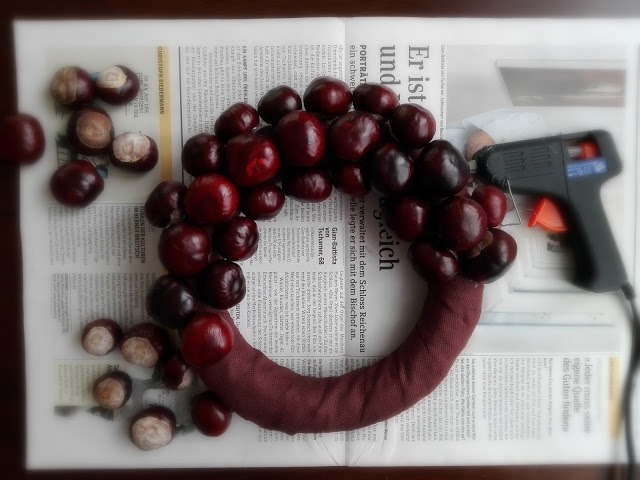
2. Use the glue gun to attach chestnuts to the cloth. I suggest stick chestnuts with the flat side to the outer side of the rim – they hold better.
3. You can decorate a finished wreath with a colorful ribbon.
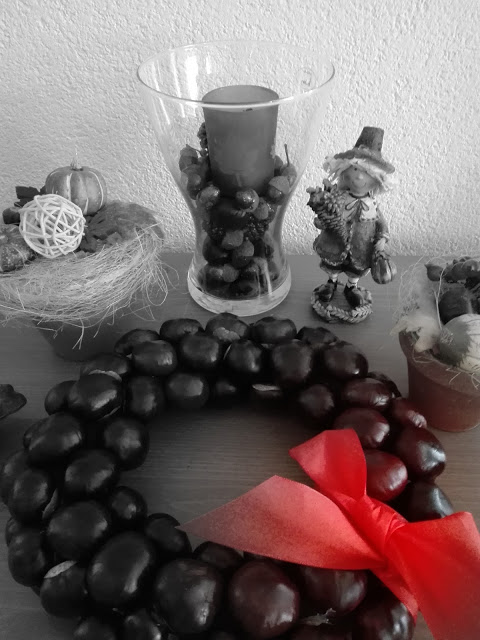
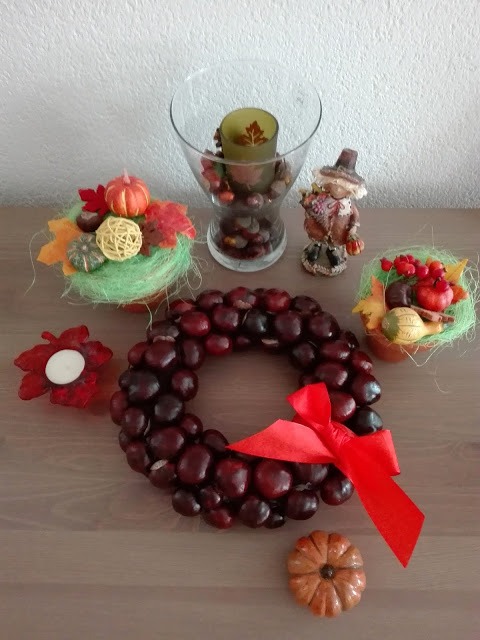
4. Add a wreath to the other fall decorations and enjoy the beautiful fall days. I wish you all a wonderful October!
If you don´t want to miss any of my recent posts please sign up for my blog in the top right-hand corner of this page. Thank you 🙂
I will appreciate any time if you share my posts on Facebook or Twitter. It helps get my blog out to more people, who may like my posts.
And of course, I look forward to reading all your comments.


